
Here is my story of the Casale Design Custom Mugen Widebody built for Rywire Motorsport Electronics and ultimately for the owner: Angel Ramos! From Sketches, to clay, to one off FRP molding, to SEMA CRUNCH to final product at the Toyo Treadpass SEMA 2017!

^Photo above by Joey @Stickydiljoe, showing Angel’s car in the last state (as far as I know, there may have been an updated version since this). Clad in J’s Racing parts, with custom rear quarter panels, and TE37 wheels by Rays.
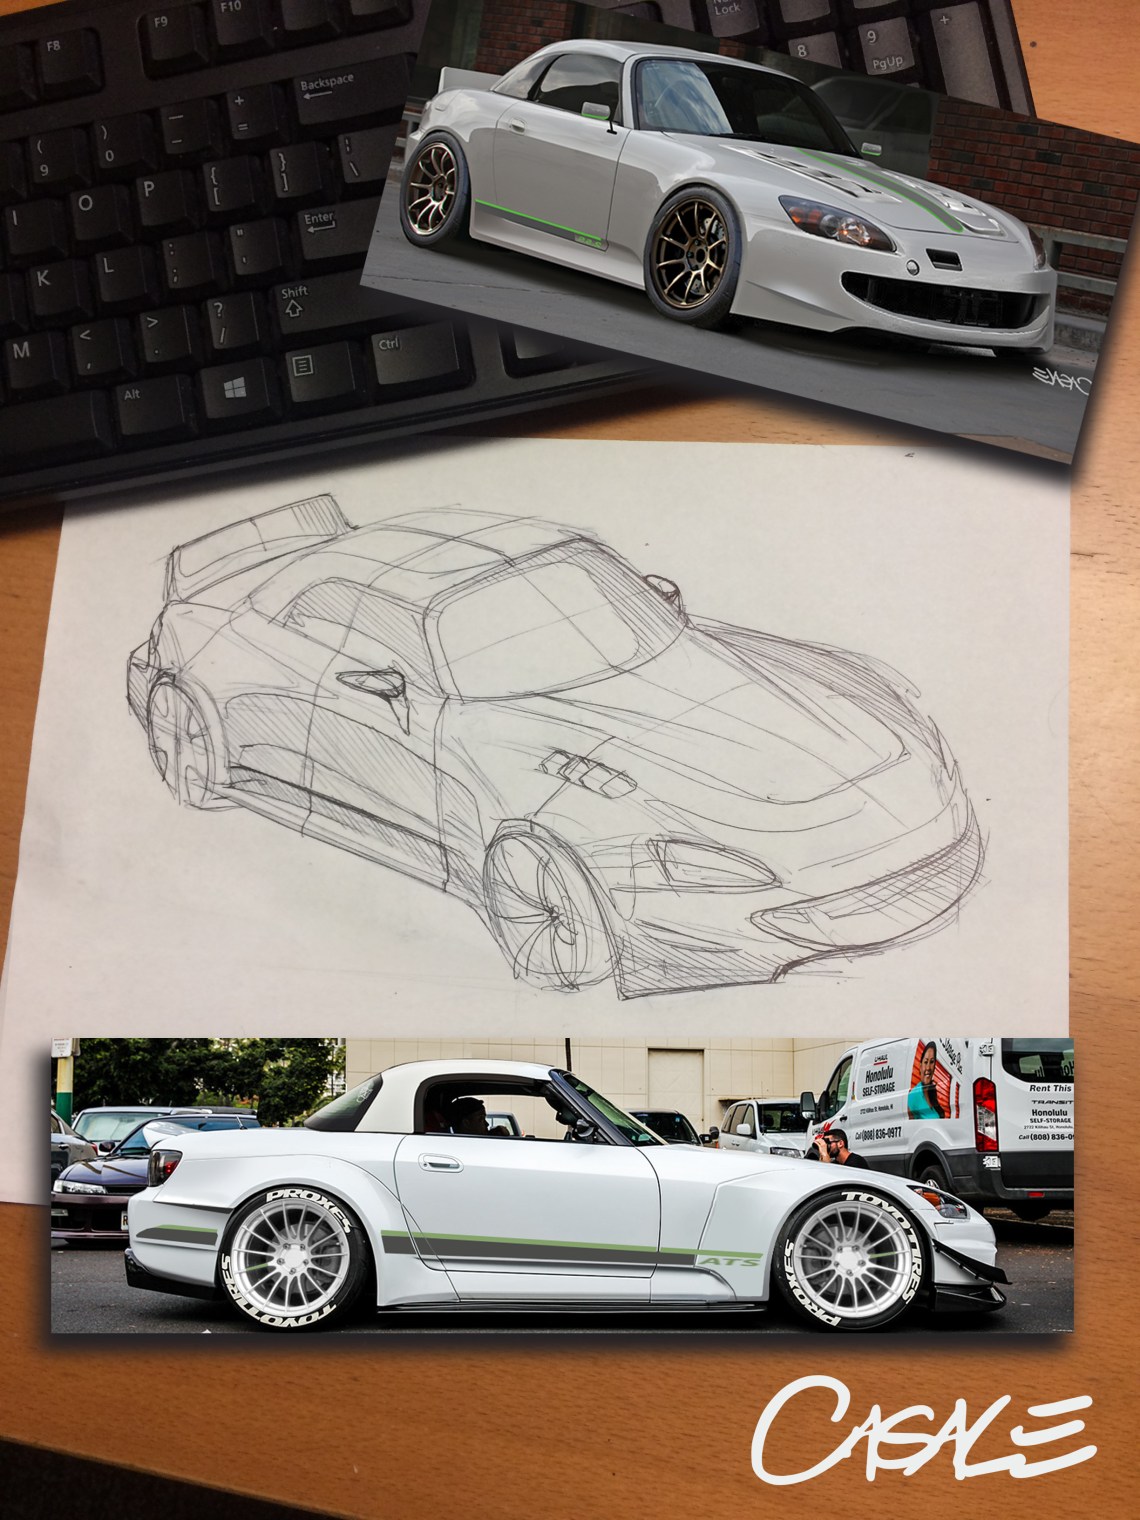
After finishing Big Mike’s Honda Prelude, I think Angel felt that it was time to get his car ready for the chopping block haha. Angel got in contact with me about working on the car and he wasn’t really sure what he wanted. He knew he wanted go to Mugen, and possibly some fender flares of some sort. You can see above that there was a phase of rivet-less flares with livery. In the end the idea of a seamless OEM-esque Mugen Widebody was in store for the S2000.

^This rendering above was my final proposal for the car’s exterior before getting started on the real thing.. Volk ZE40, custom side skirts, custom Mugen 3 piece wing etc.

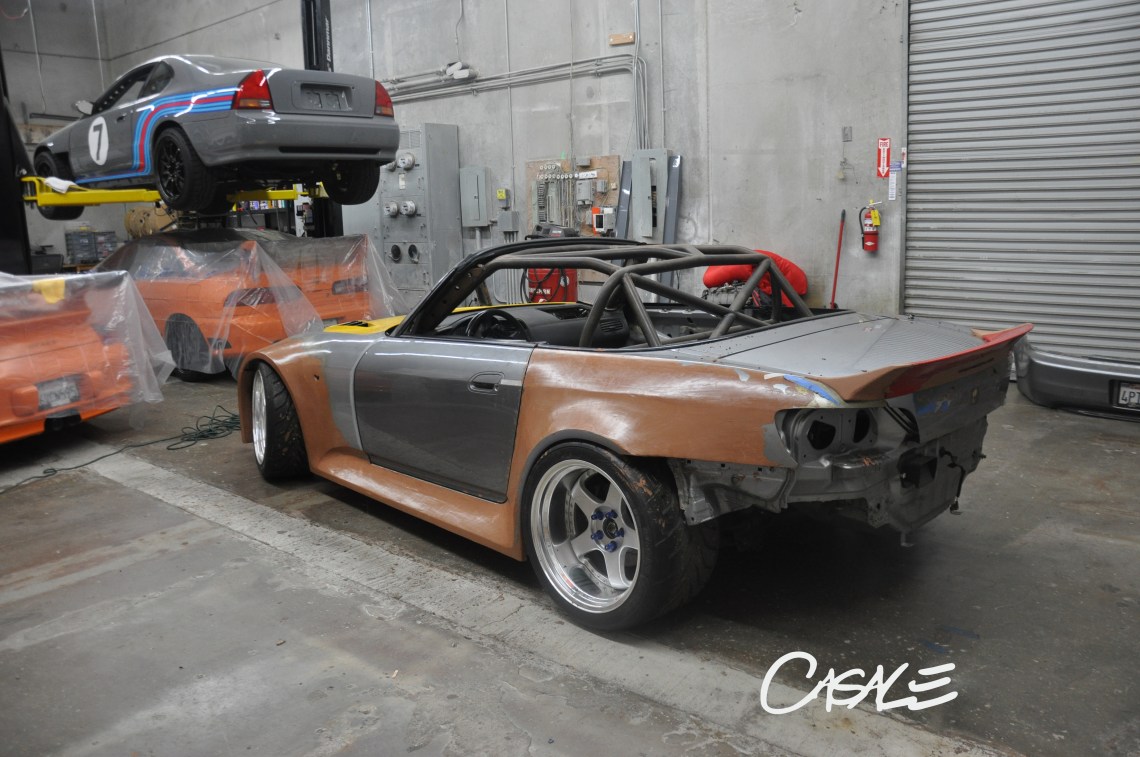
First things first, I needed to remove the existing bodywork from the car. So drill, hacksaw and Sledge hammer went to town!
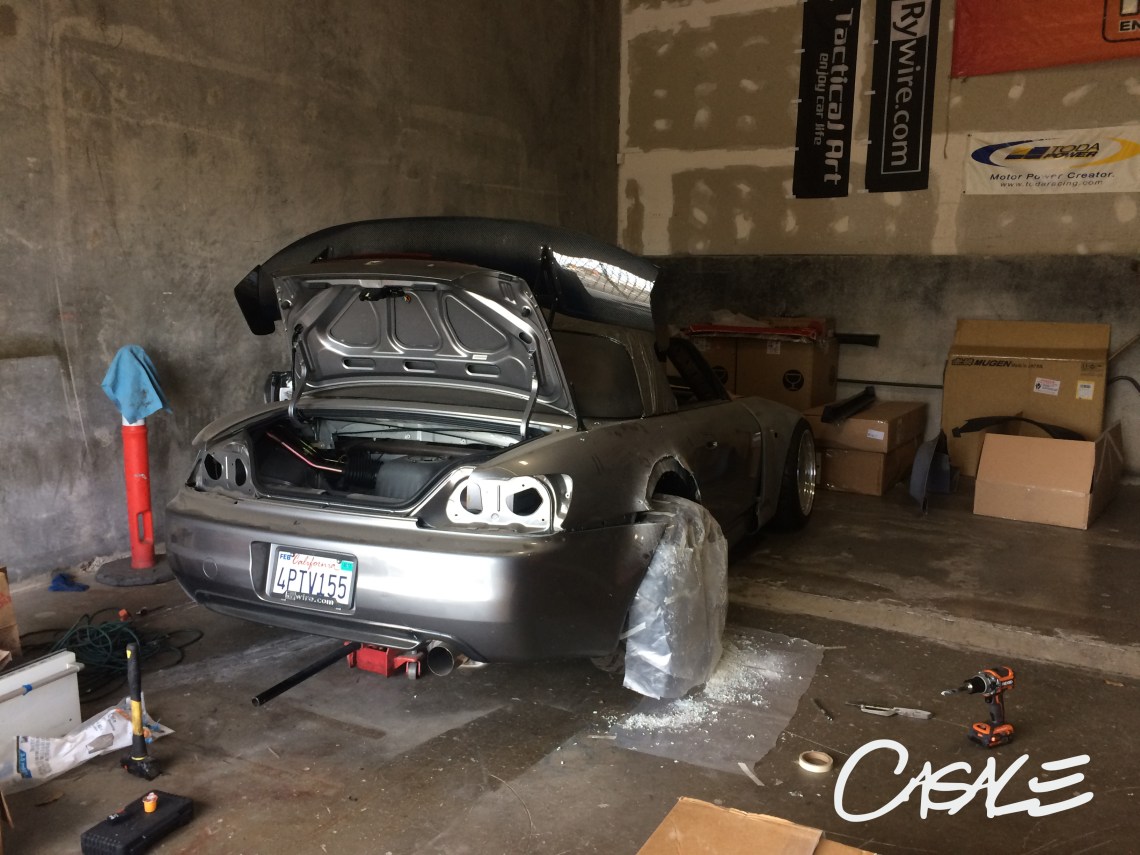
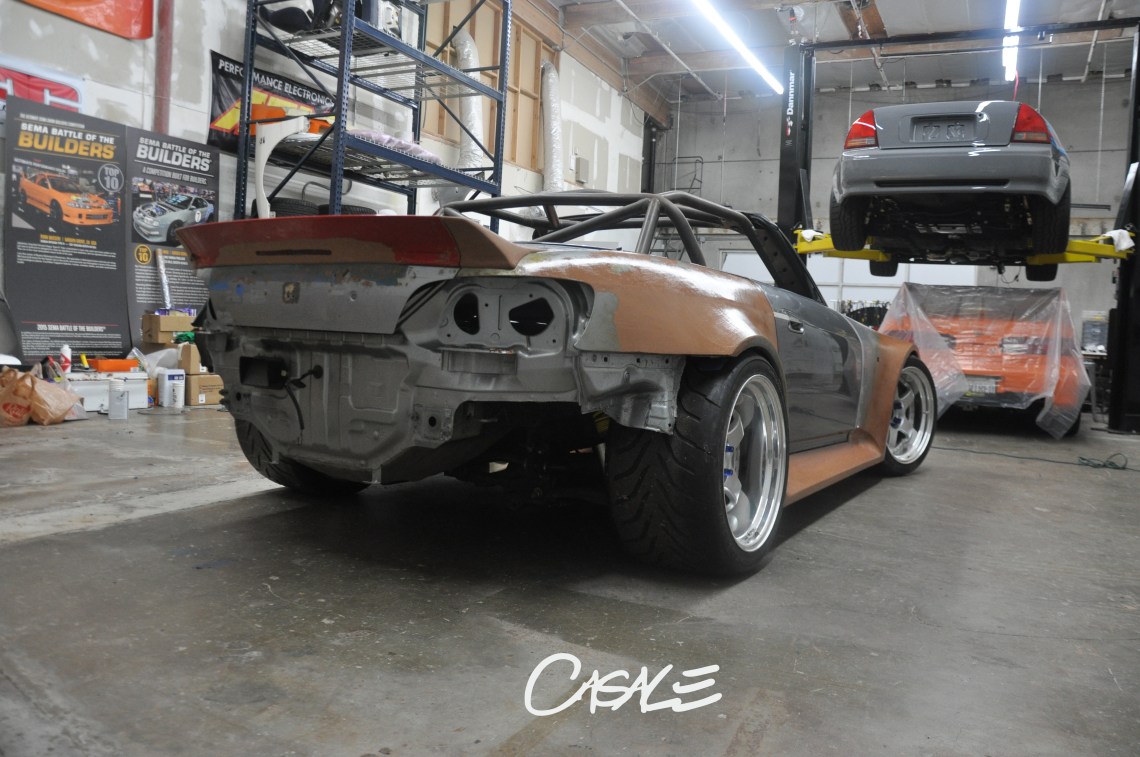
Here is a photo further away showing the car one last time before its transformation.

After pulling off the custom widened quarters, this is what I was left with!

After creating a base to start with, I started ‘packing’ the clay onto the quarter to be reshaped.

Fast forward, here is the car while I was working the clay, scraping and sculpting every surface.

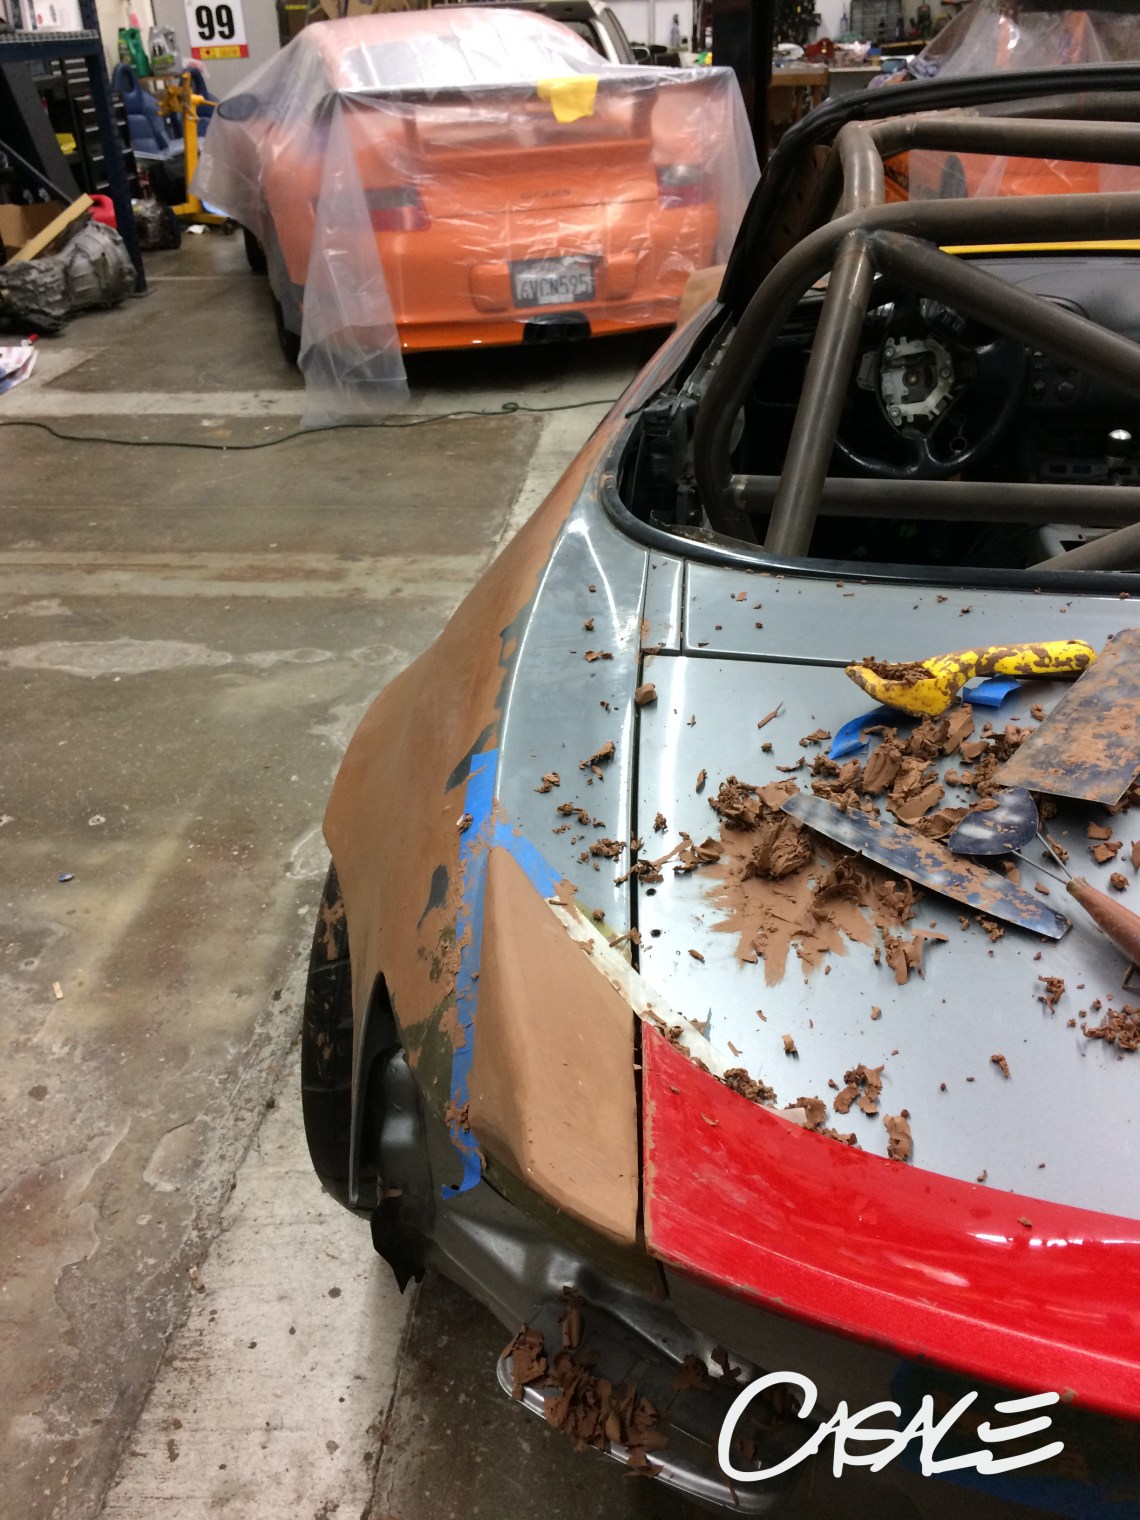
Here is the rear showing the clay packed onto the rear Mugen bumper ready to be shaped.

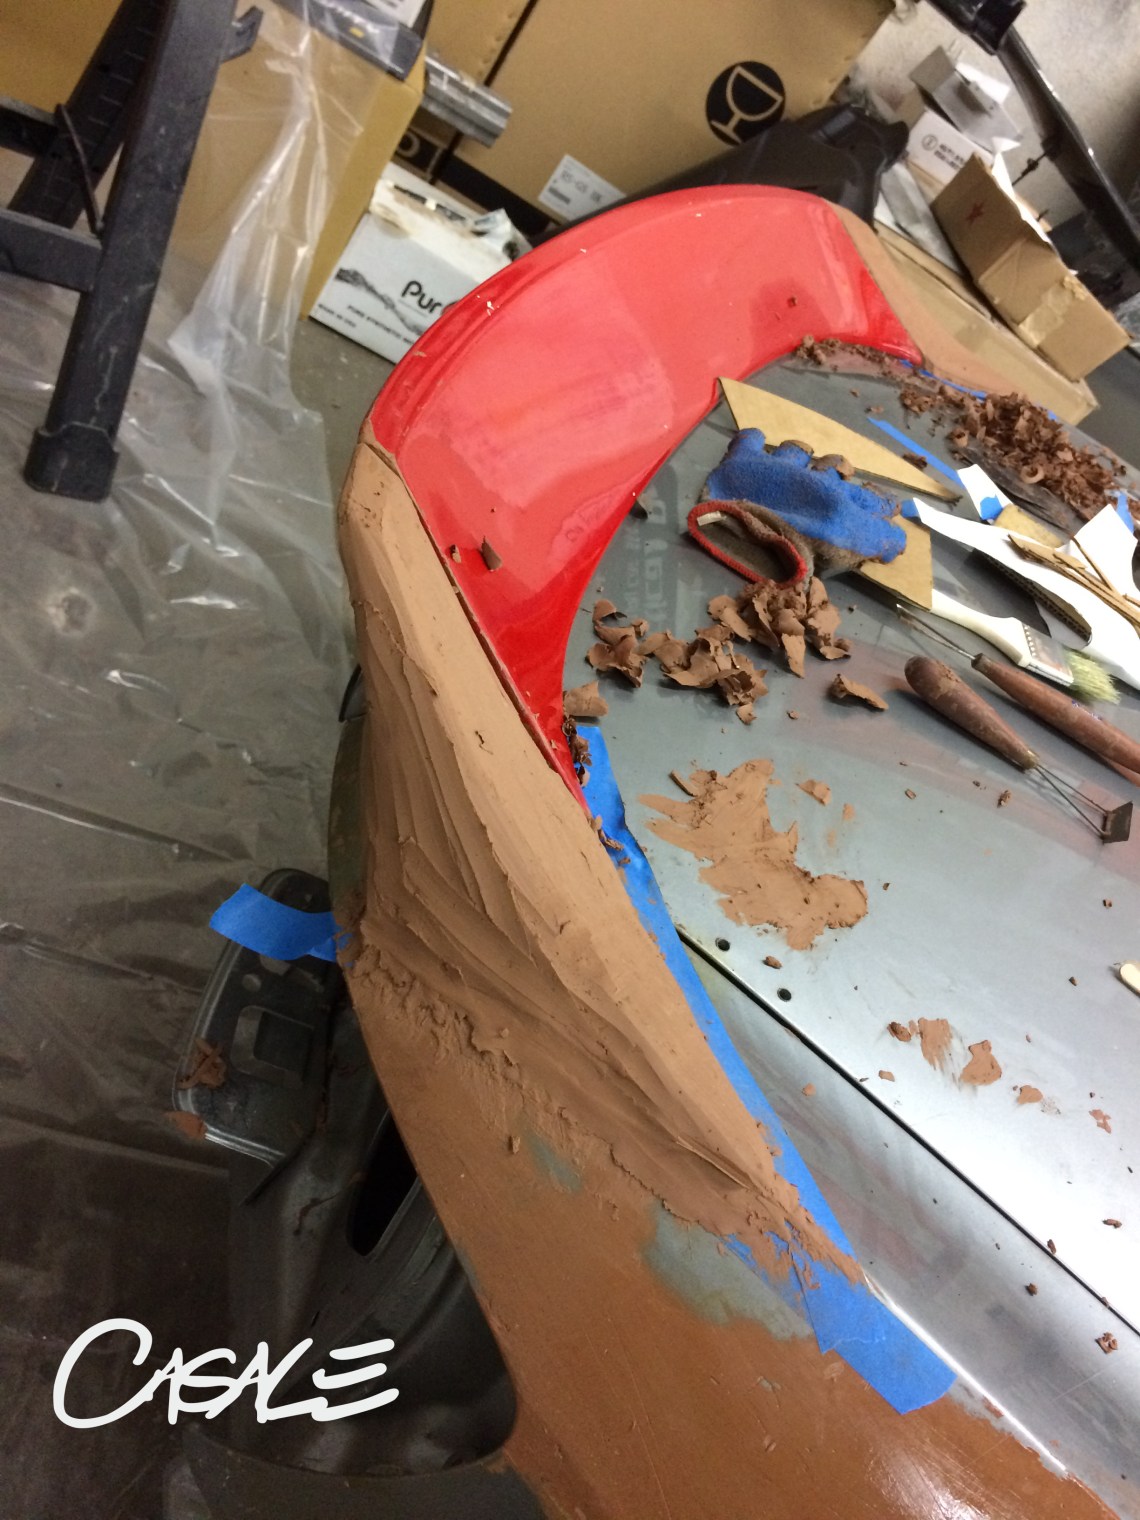
Finalized view of the rear showing the car with the rear bumper extensions and customized Mugen wing.

Here are more finalized images showing the car with the clay sealed before FRP overlays.

Rasping the clay front fender.
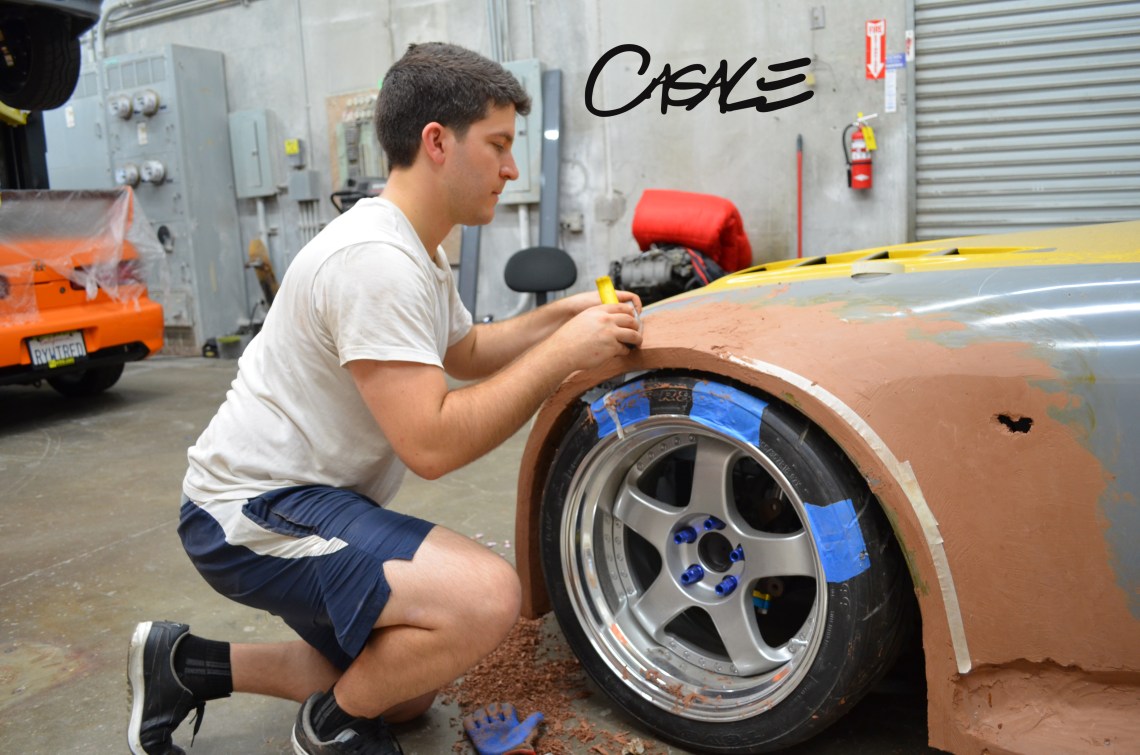


The use of tape, and paper templates help me to quickly transform the clay into form.


Some reworking of the spoiler ends before molding them.

Clay packed and pushed into shape before using tools. My favorite tool are my hands!

FRP Overlay process begins..
Overlaying the side skirt forms…

Overlay of the rear quarter panels.

Everything being overlayed and filled to quickly create some one-off parts.


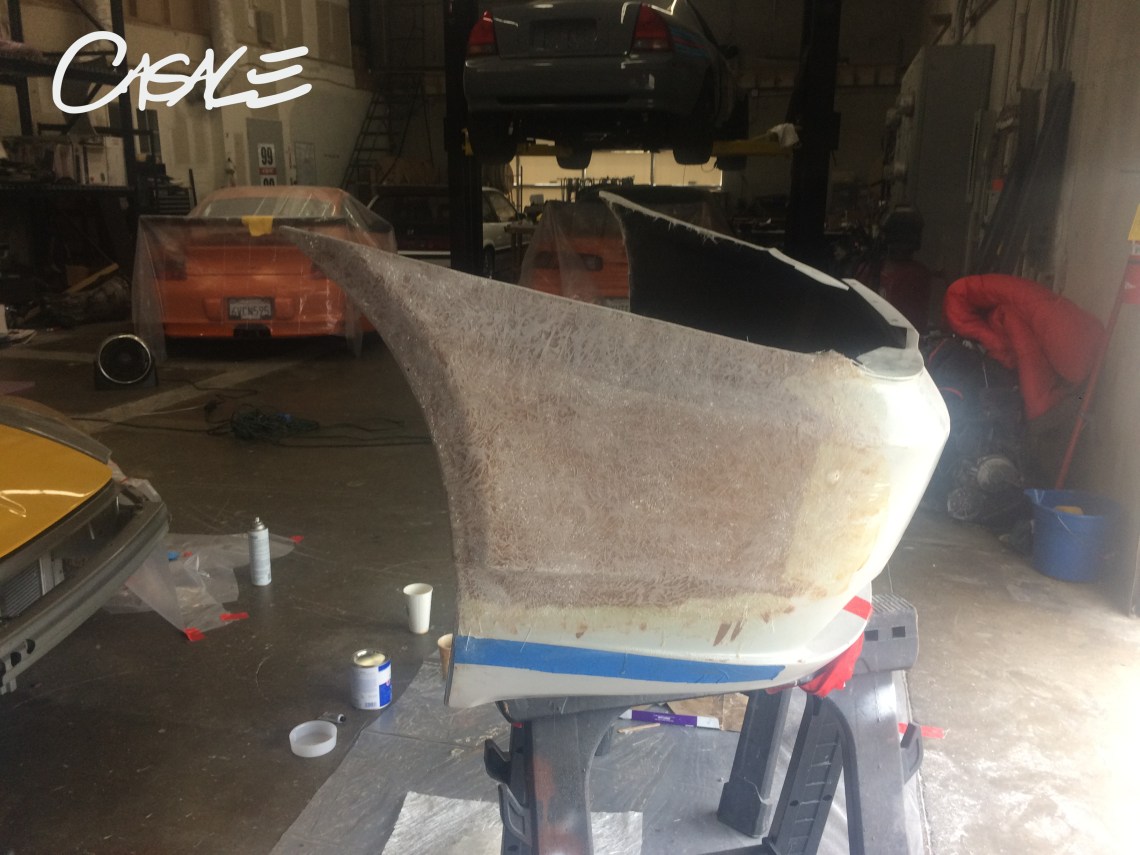
The Front extensions are coated with a gelcoat topcoat.
Rear bumper FRP overlay.

Rear bumper Gelcoat topcoating.
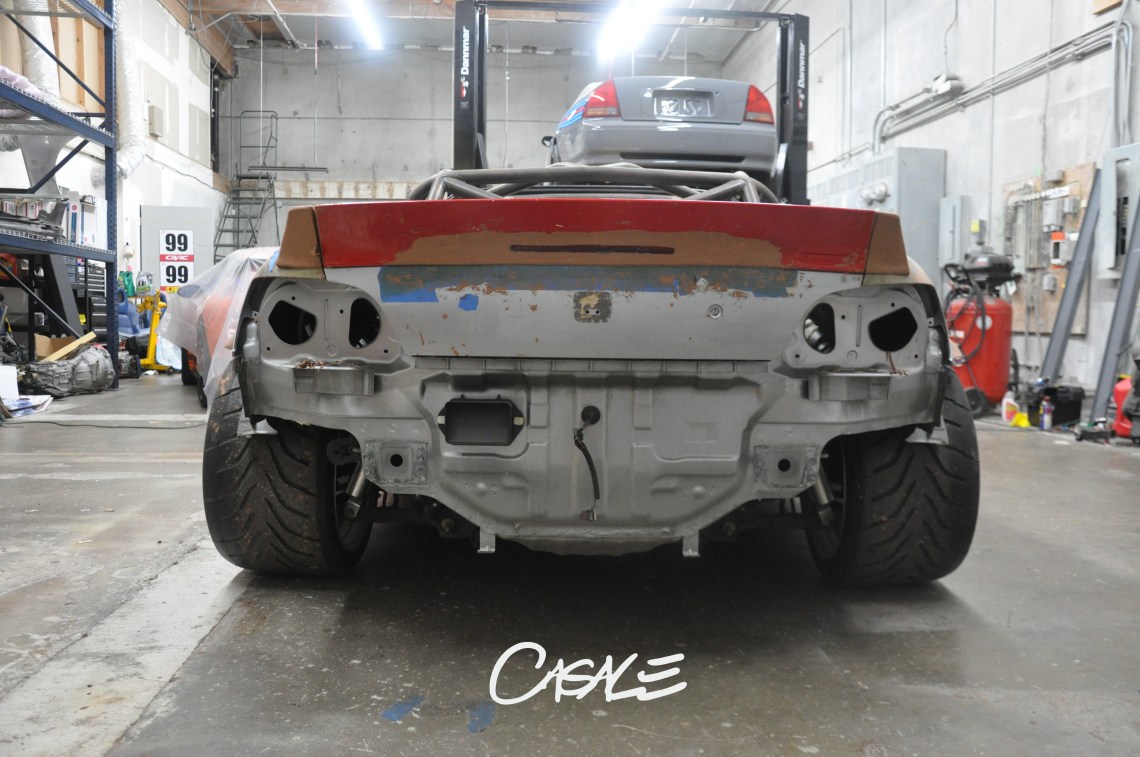
Rear Quarter blocking…

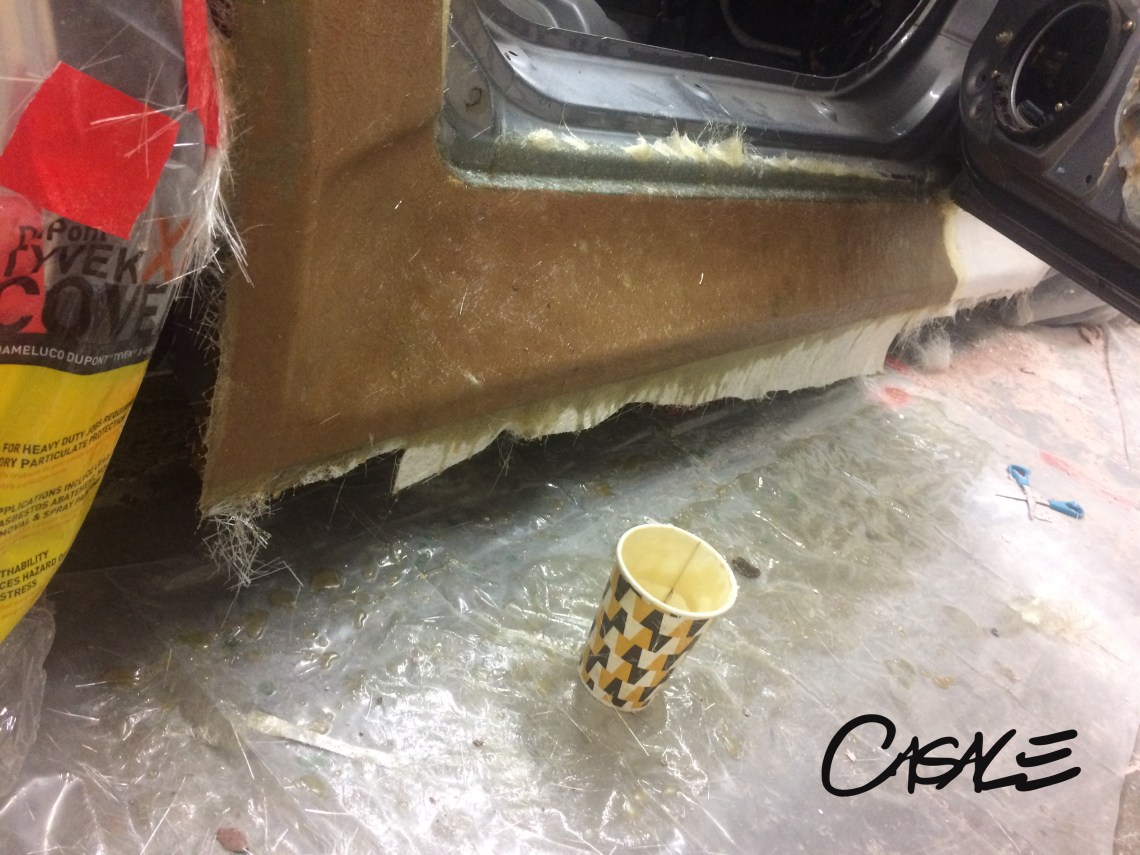
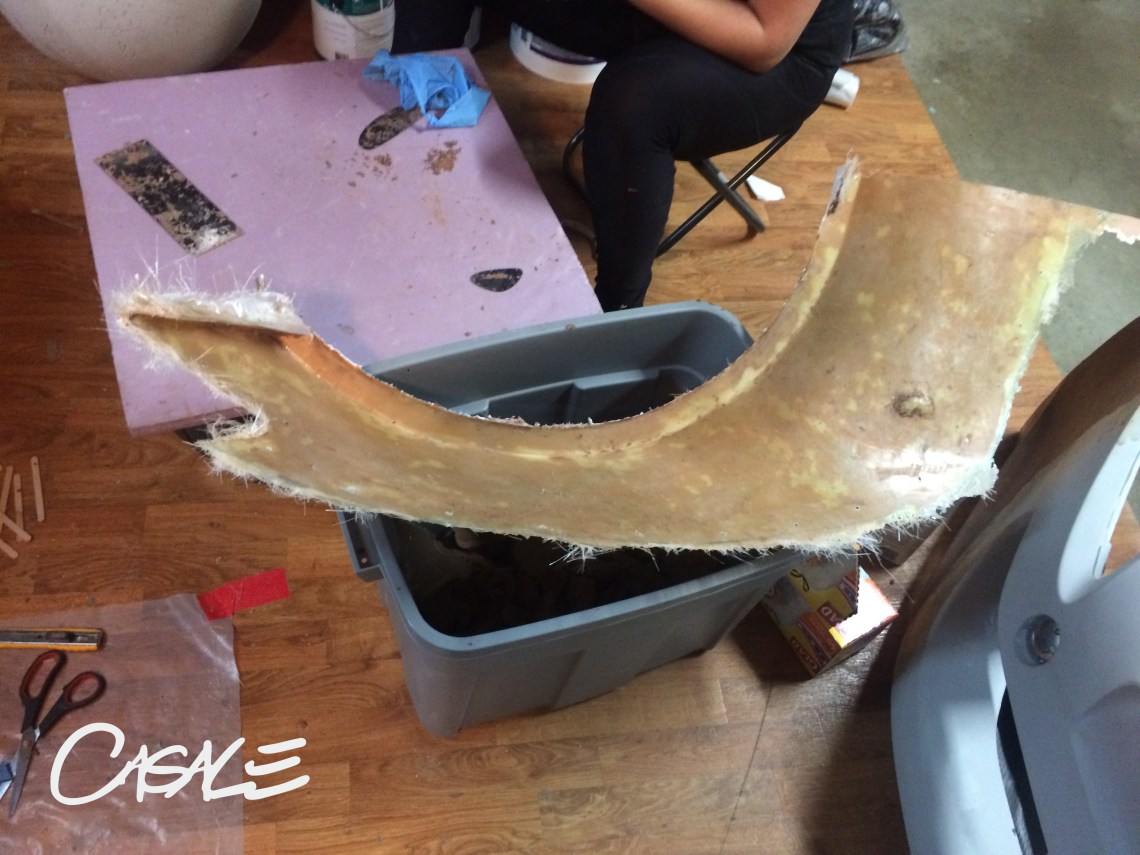
The Parts are then pulled off the car to remoive the clay. Note how the skirt was cut to get ready for the seam line / flange (mounting surface.

Tapping Screws drilled for alignment for when this piece gets bonded to the front fender.
All the clay has been removed!
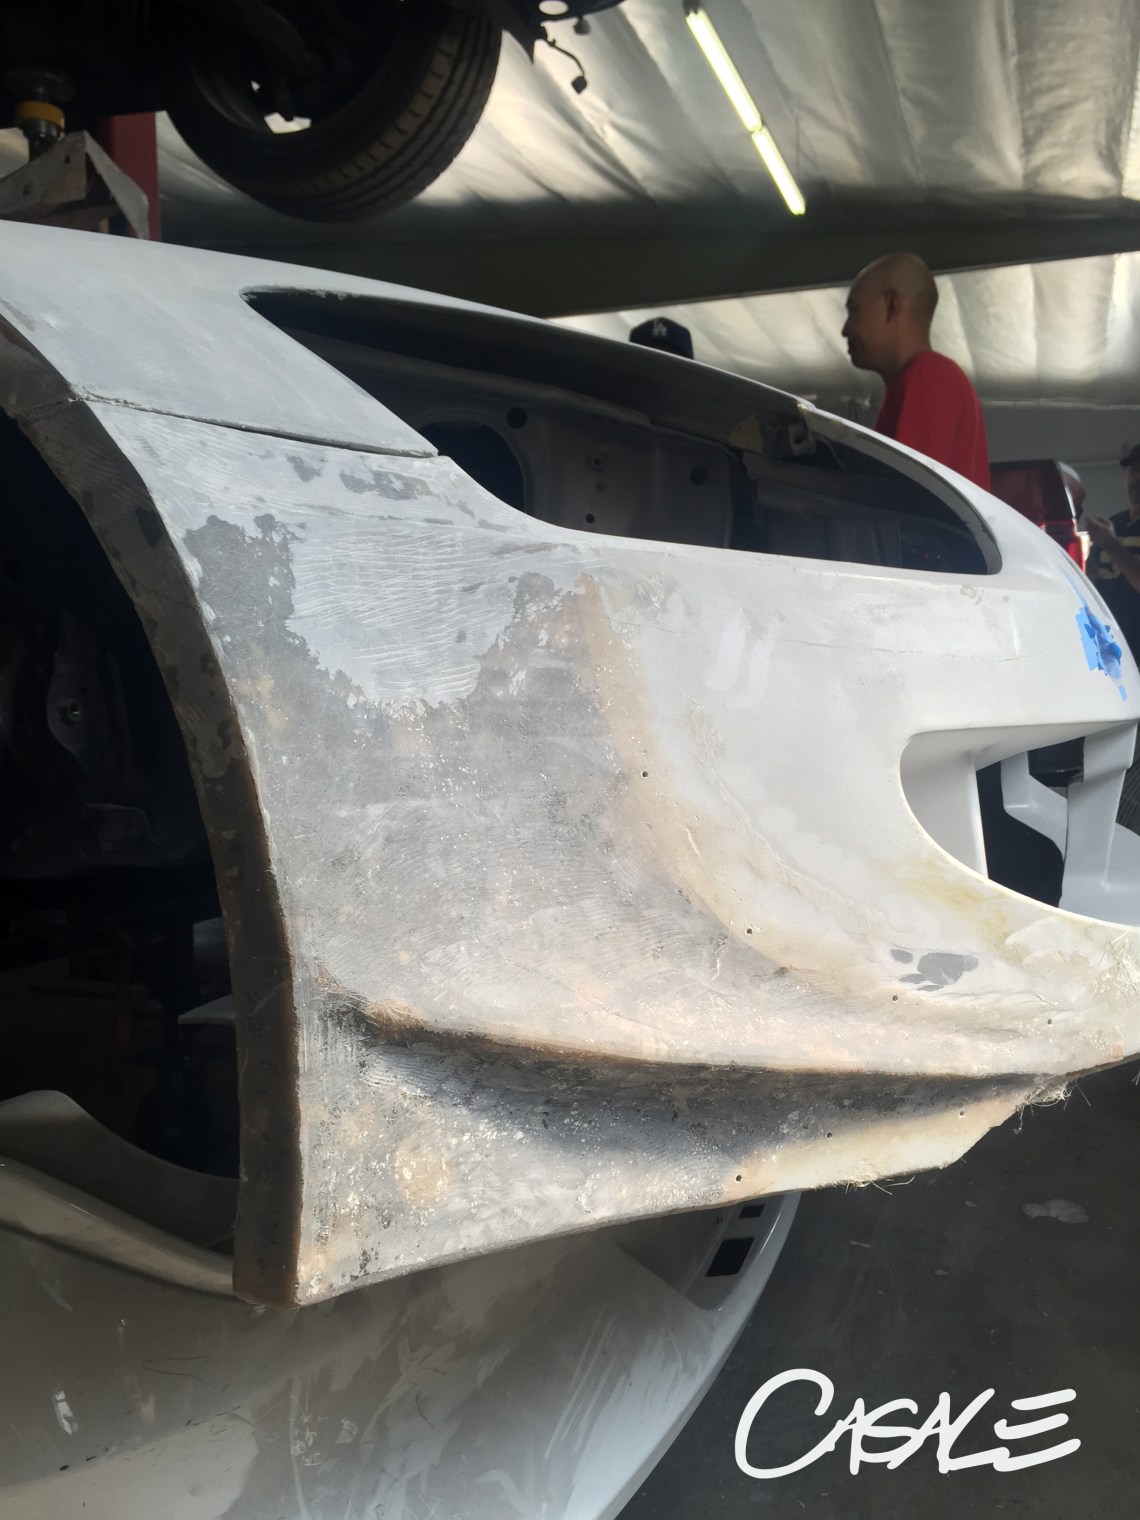
More blocking of the panels.

Front extension overlay that has been added to the front bumper and reinforced from the back.
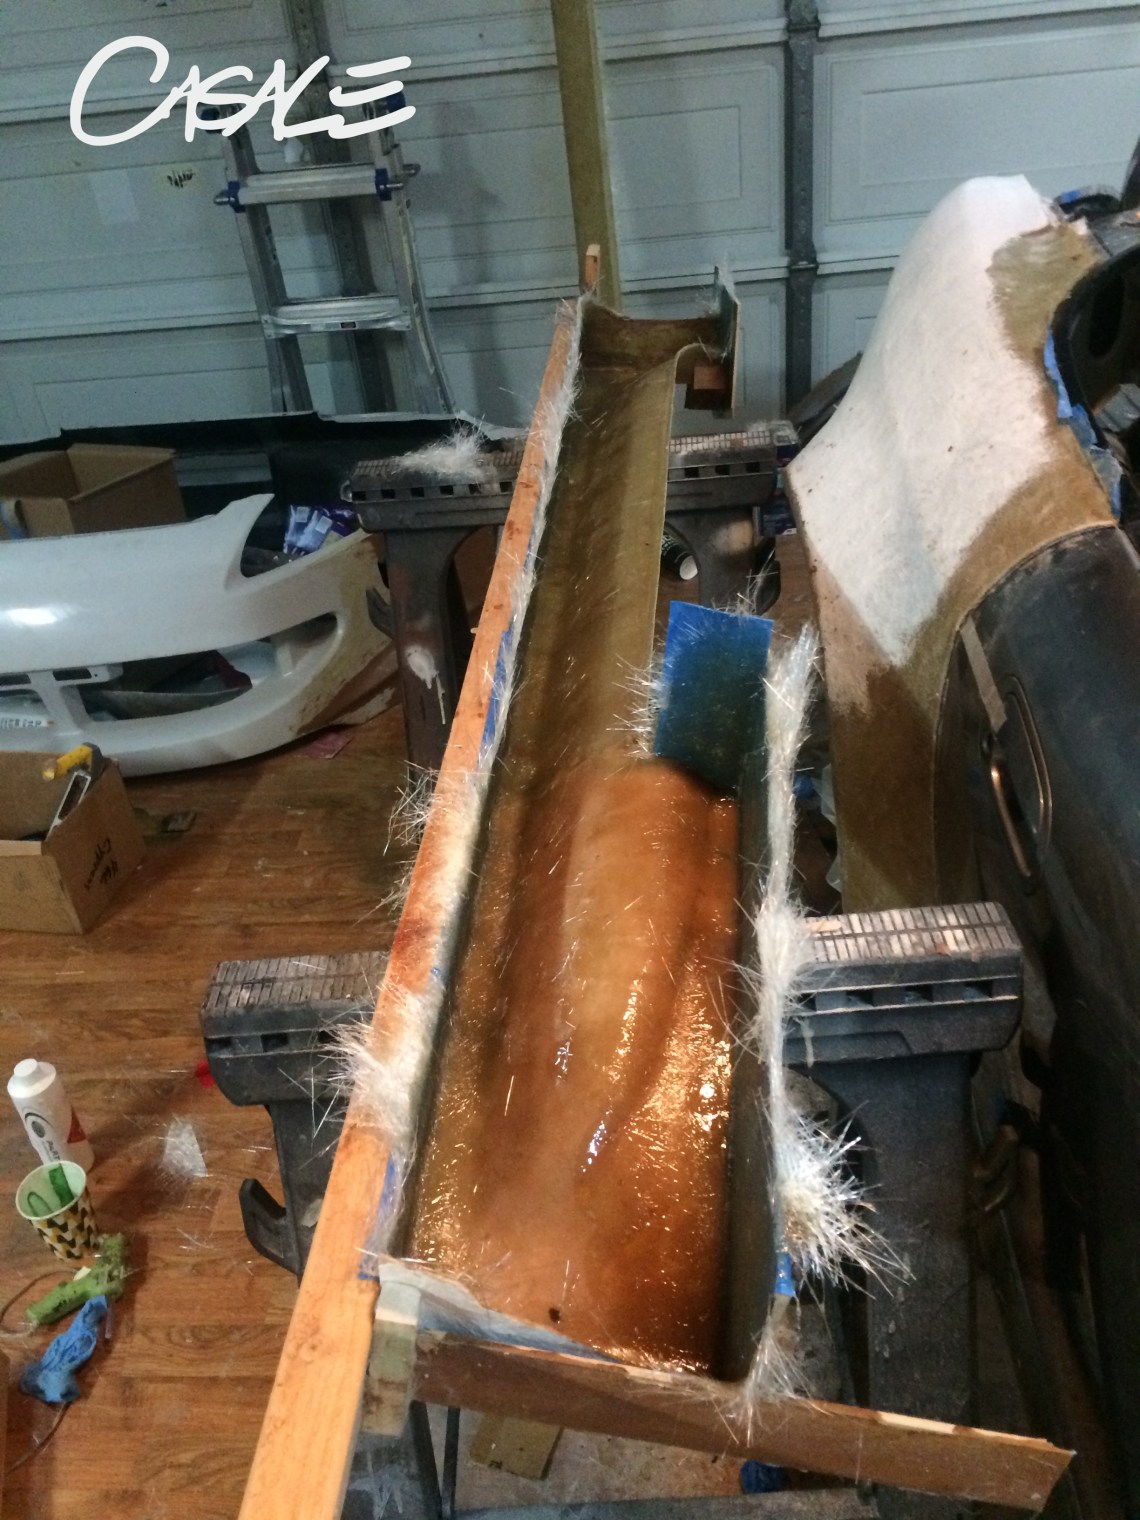
side skirt overlay being molded also from the backside to create flanges and structure.

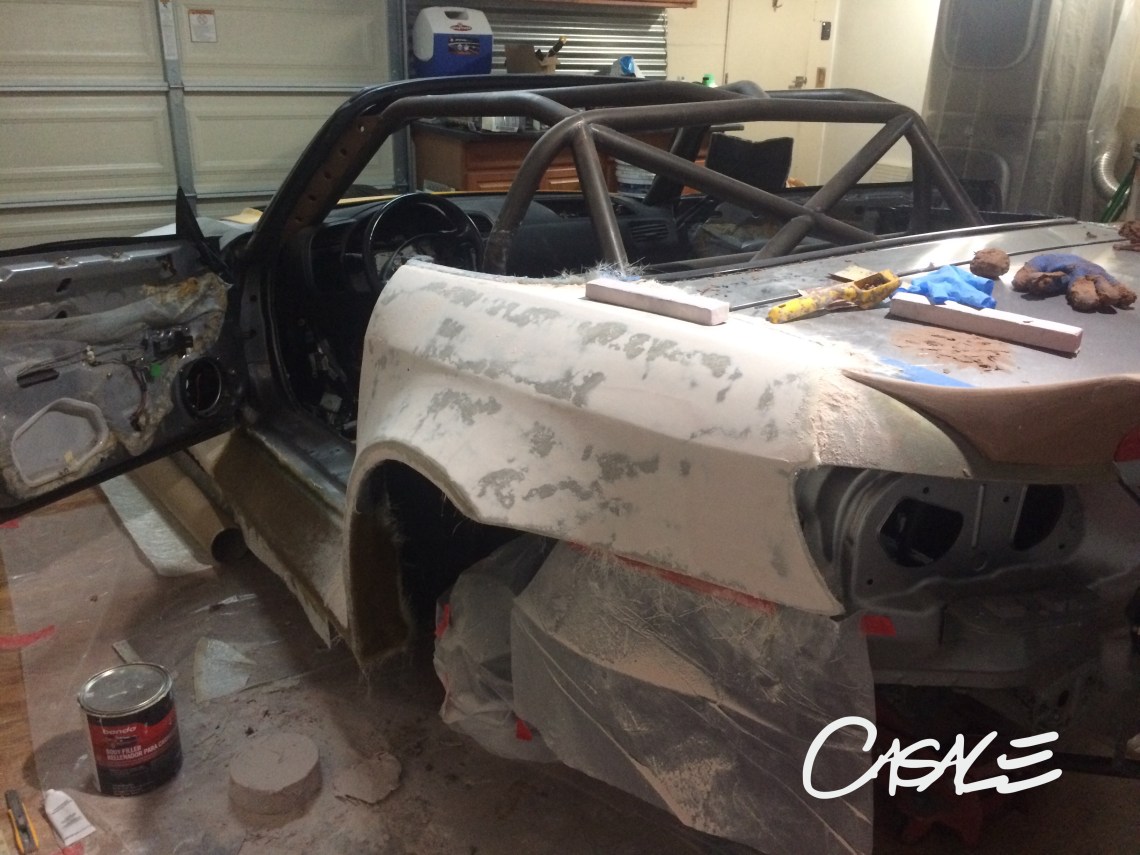
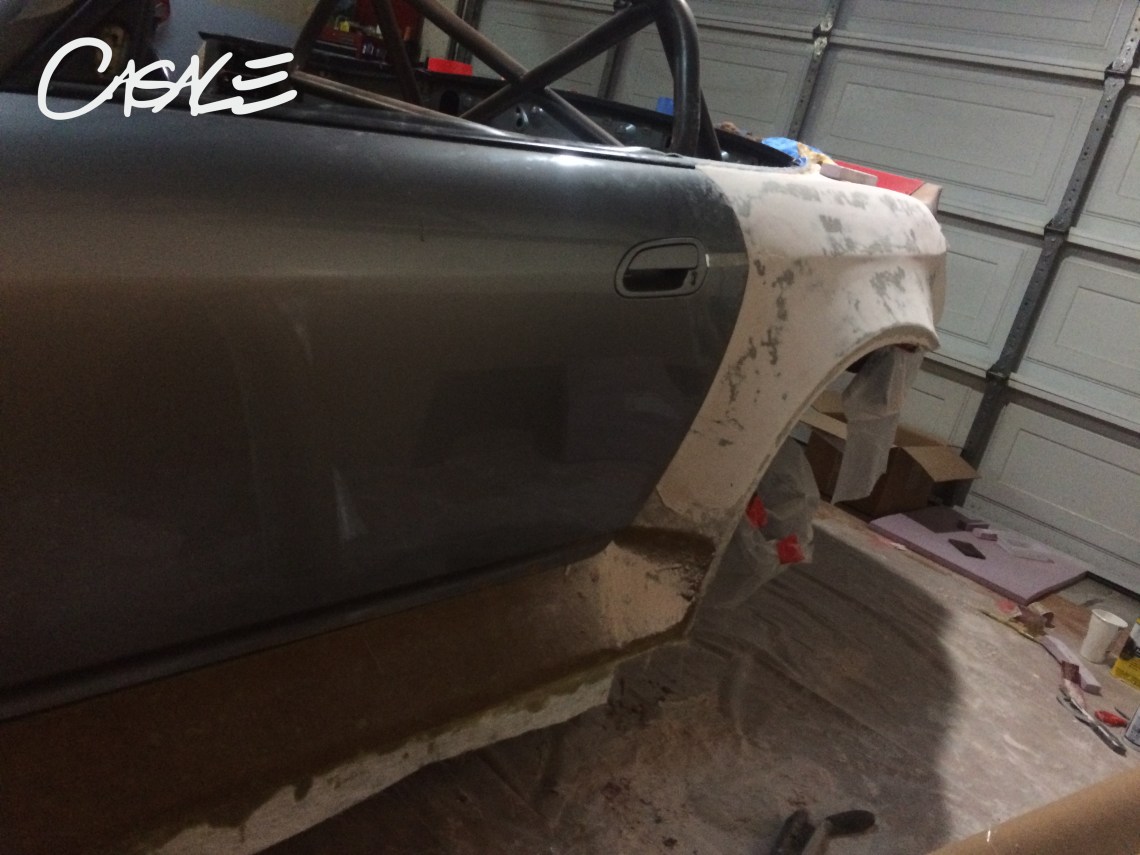
Bottom portion of the front fenders has been re-worked and glassed to allow for a seamline, side skirt mounting.

Photo from the bodyshop after being painted, this is showing the rear spoiler ends being finished with a bolt on type application.
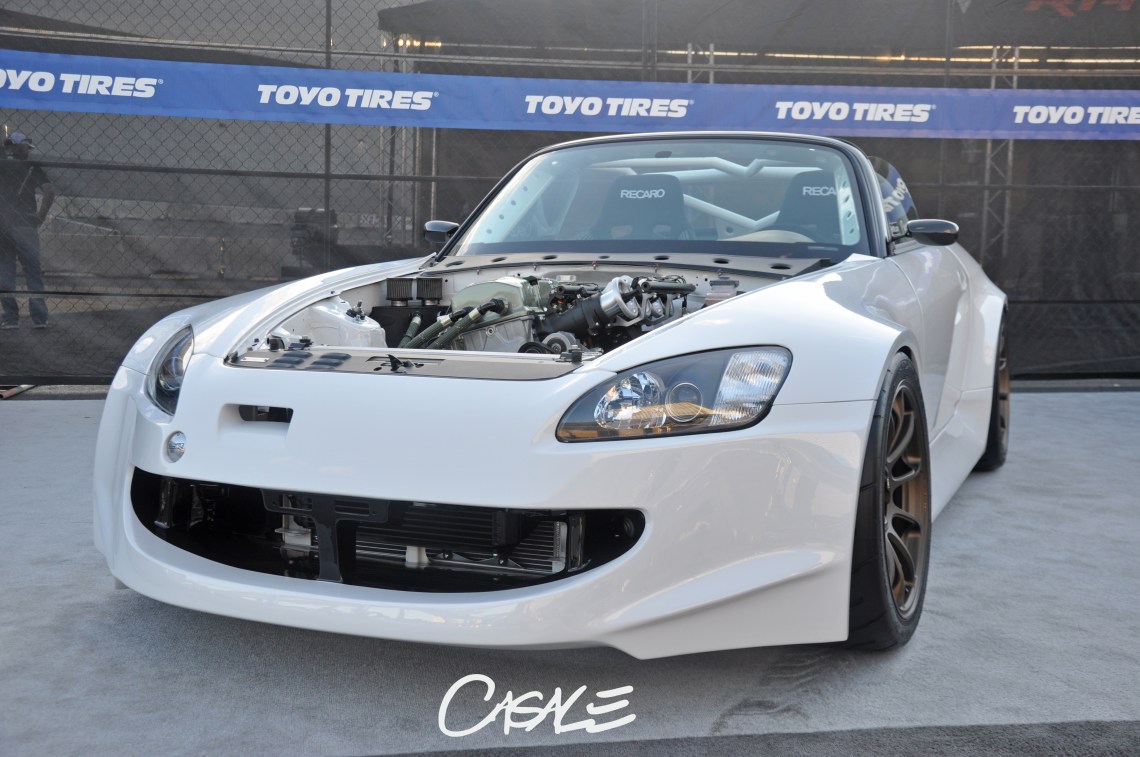
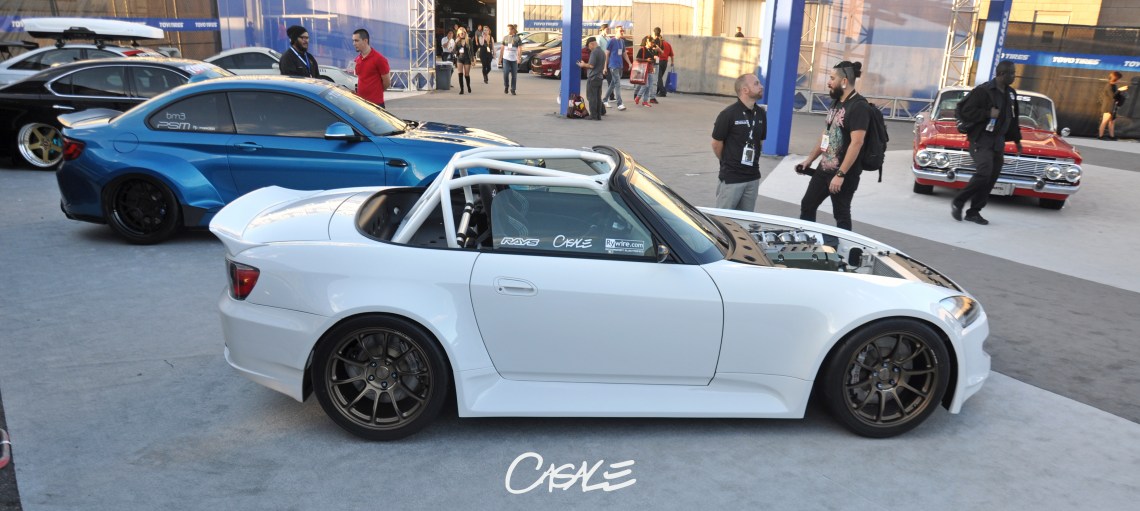
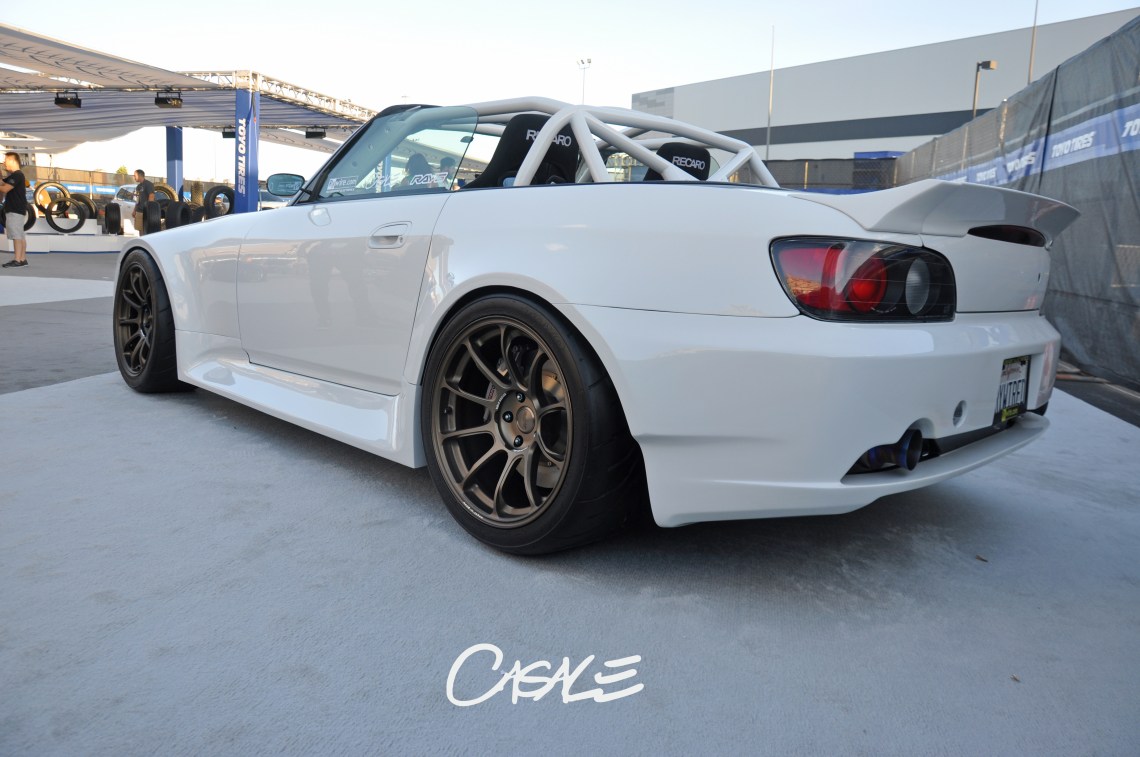
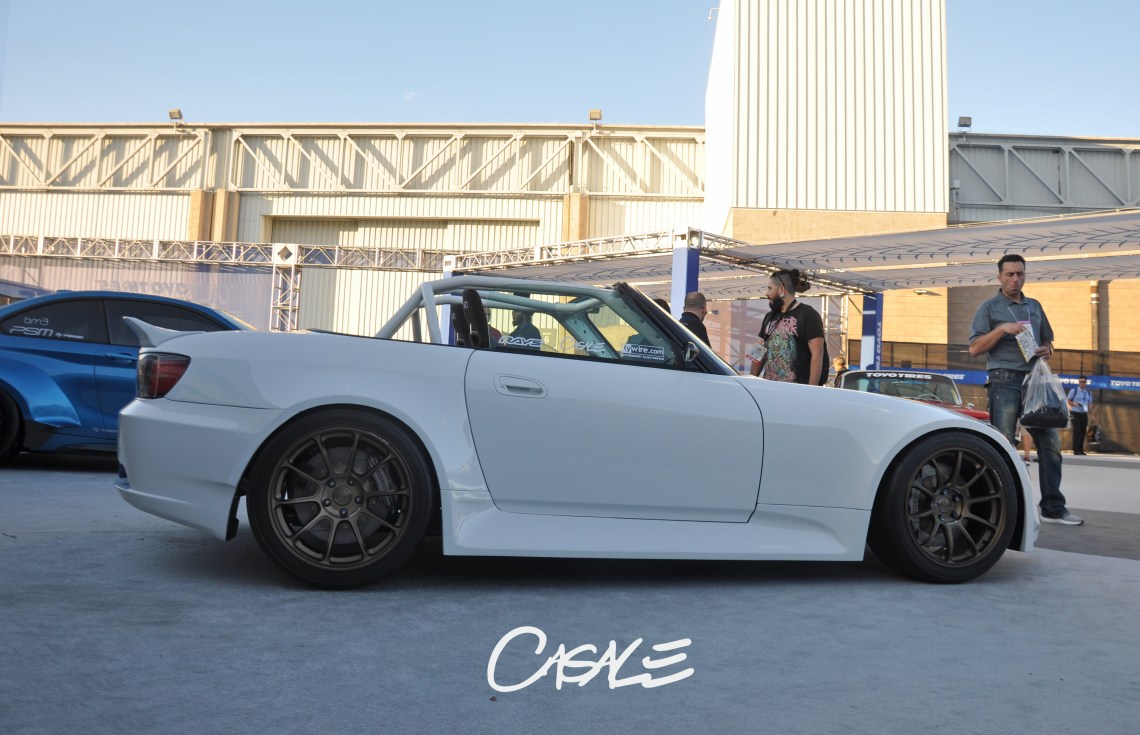
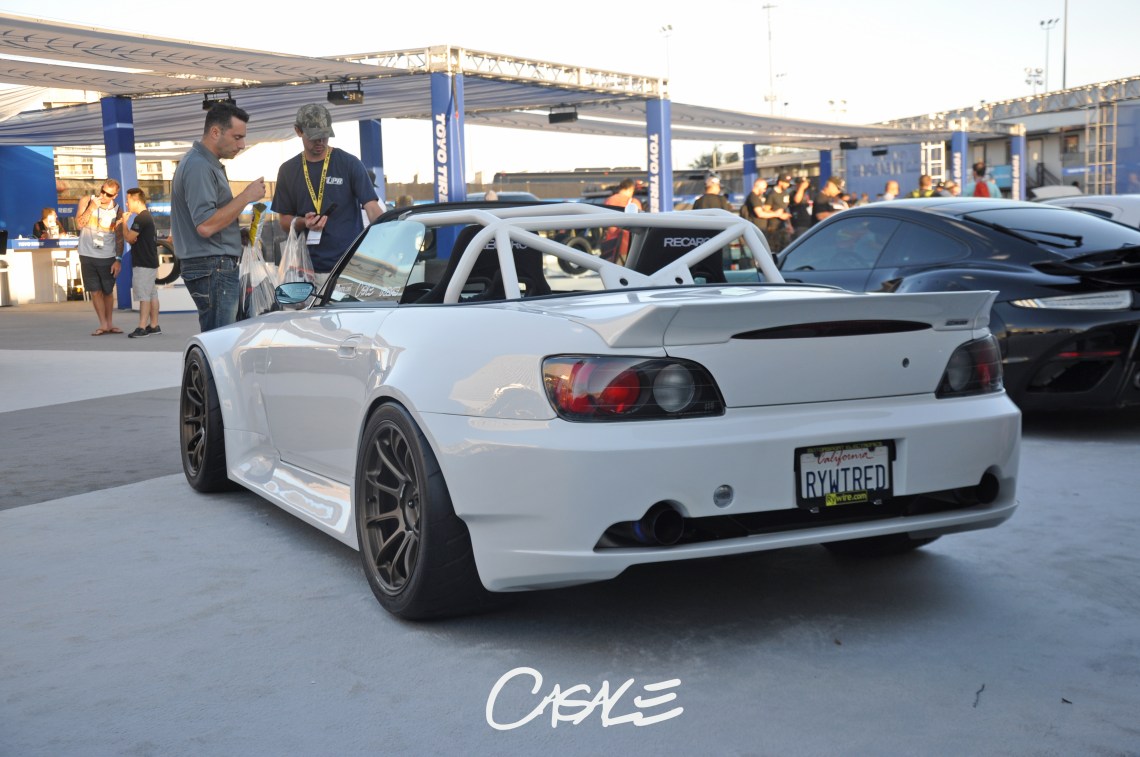
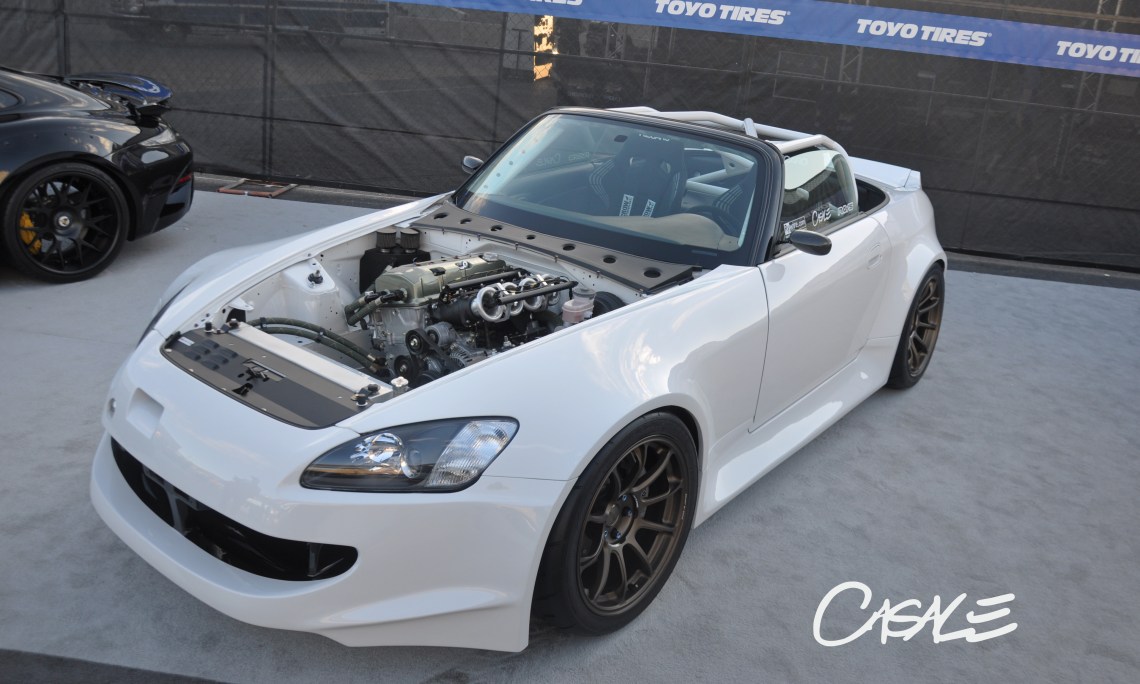
Below: Finished photos at the SEMA show. Things still need to be adjusted to Angel’s liking, but overall I think it turned out well due to the very tight timeframe.


Thank you for the share!